

How to Draw a Rose – I am frequently approached by people who feel frustrated to start painting because they don’t know how to draw, people who, having the ability to capture beautiful colors, have missed the opportunity to enjoy this sublime art for to think that by not being able to draw they will not be able to paint either. On other occasions, even if the person has notions of drawing, they need to make an exact copy of a painting or photograph on a larger support.
Tutorial on How to Draw a Rose
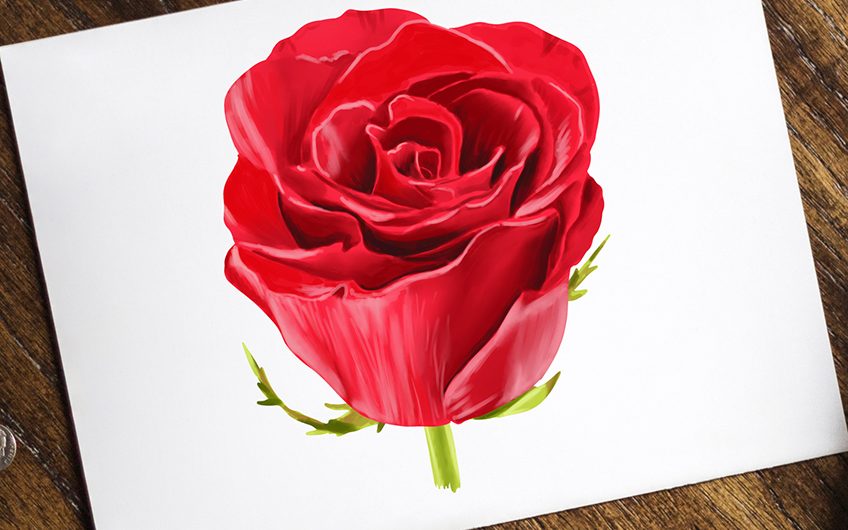
Therefore, if you find yourself in any of these cases, this publication will be very useful, because this time I bring you a tutorial on how to enlarge the drawings and transfer them to the canvas or surface to be painted. I will show you an example of how to draw a rose using this method, and you can then apply it to any image.
The grid method This method consists of drawing a grid on the reference image and then drawing another grid of equal proportion (but different size) on the surface to be worked on, be it paper, wood panel, canvas, etc. . Then, what is seen in each of the squares of the original image is drawn on said surface, one by one, until seen together they form the complete image. Once you have finished you can erase the grid and start painting. How can you draw without knowing how to draw?
The interesting thing about this method is that exhaustive drawing skills are not required, just a normal observation capacity, like the one most people, have to compare and establish relationships like the following: The grid method This method consists of drawing a grid on the reference image and then drawing another grid of equal proportion (but different size) on the surface to be worked on, be it paper, wood panel, canvas, etc. . Then, what is seen in each of the squares of the original image is drawn on said surface, one by one, until seen together they form the complete image. Once you have finished you can erase the grid and start painting.
How can you draw without knowing how to draw?
The interesting thing about this method is that exhaustive drawing skills are not required, just a normal observation capacity, like the one most people, have to compare and establish relationships like the following: The grid method This method consists of drawing a grid on the reference image and then drawing another grid of equal proportion (but different size) on the surface to be worked on, be it paper, wood panel, canvas, etc.
Then, what is seen in each of the squares of the original image is drawn on said surface, one by one, until seen together they form the complete image. Once you have finished you can erase the grid and start painting. How can you draw without knowing how to draw? The interesting thing about this method is that exhaustive drawing skills are not required, just a normal observation capacity, like the one most people, have to compare and establish relationships like the following.
Methods of Drawing
Now that you have surely answered the previous questions, you will feel more convinced that you can use this method of drawing, which also forces your brain to stop at each of the squares, simply drawing lines and establishing relationships between them without worrying about drawing a tree, an eye, a flower, a horse, etc., and thus the reasoning side of your brain will not intervene by issuing its concepts about learned symbols that hinder artistic observation.
Even, with time, you will get used to drawing in this way and you will see how your skill improves remarkably with this tutorial on How to Draw a Rose. The brain feels calmer going step by step through each zone without thinking about the others, knowing that it has less risk of getting lost since each frame will give it the location of the elements within the entire surface. The step-by-step method The first step is to keep in mind that the proportion of our original image must be the same as that of our support, but generally, this does not happen if we have a pre-made canvas.
So what you have to analyze is if you should cut the original image a bit or if, on the contrary, you should add space to complete the missing area. Take a look at this example of a landscape that you want to paint on a support that is less rectangular than the original (almost square): So what you have to analyze is if you should crop the original image a bit or if, on the contrary, you should add space to complete the missing area. Take a look at this example of a landscape that you want to paint on a support that is less rectangular than the original (almost square): So what you have to analyze is if you should crop the original image a bit or if, on the contrary, you should add space to complete the missing area. Take a look at this example of a landscape that you want to paint on a support that is less rectangular than the original (almost square):
In the upper option, a part of the left of the image is cropped, while in the lower option, a space is added in the sky area. This last option could be more recommended since it would not delete any part of the original image and would give you a better visual rest. In the next article How to choose the measurements of the canvas, adjust a photo to the canvas, I will show you how to calculate the dimensions of the support or of the original image so that they remain proportional. Step 2 You take the measurement of the width of the original image and divide it into an appropriate number of spaces, depending on the complexity of the image, or how confident you feel about drawing wider areas. That is, if the drawing seems very complicated to you, you may need
Comments are closed.